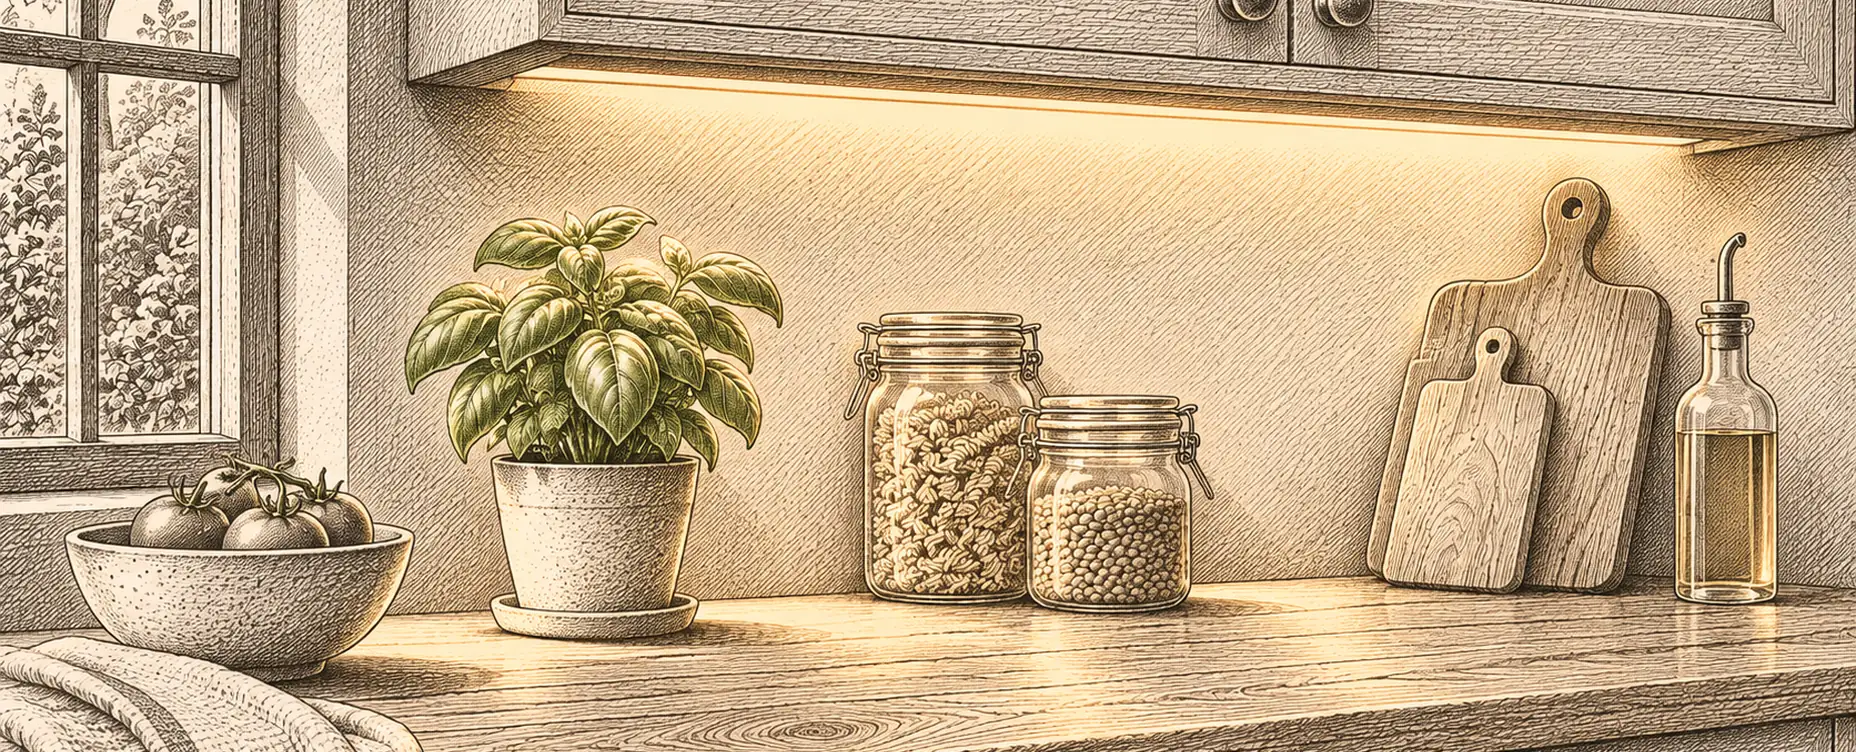
Concealed LED strip is the single most effective way to make ordinary lighting look considered: light under a kitchen cupboard, above a wardrobe, behind a headboard, in a stair nosing, along a cornice. Done well it looks architectural. Done badly it looks like a shop display, with visible dots, uneven colour, a buzz and a dead section after two years.
The difference is almost entirely in the specifications nobody reads.
The specifications that decide the result
LEDs per metre. The single most important figure for appearance. Fewer than about 60 per metre gives visible individual dots unless deeply recessed. 120 or 180 per metre gives a continuous line. If the strip will be seen even indirectly, buy the higher density.
Watts per metre, which tells you the real output. Anything below about 5 W per metre is decorative only; 10 to 15 is useful task lighting; above 20 needs proper heat management. Do not judge output by LED count, which tells you spacing rather than brightness.
CRI. Cheap strip is frequently 70 or 80, which makes food, wood and skin look grey — and under-cupboard lighting shines directly onto food you are about to eat. Insist on 90 or better, and prefer a published R9 figure for deep reds.
Colour temperature. 2,700 K for living spaces, 3,000 K for kitchens and bathrooms. Cheap strip is often 6,000 K, which is why so much under-cupboard lighting looks clinical.
Colour consistency, or binning. LEDs vary in output between production batches, and manufacturers sort them into bins by tolerance. This is expressed in MacAdam steps — a measure of how far apart two colours can be before a person notices. Three steps or fewer is good; unbinned cheap strip can be visibly different colour along a single run, which is the fault people notice most and cannot explain.
IP rating, if it is going anywhere damp. IP20 for dry interiors, IP65 for bathrooms and kitchens near a sink, IP67 outdoors. Note that a silicone-sleeved strip runs hotter, which shortens life.
Voltage. 24 volt is generally better than 12 for anything longer than a couple of metres, because voltage drop over the length is proportionally smaller — which is what causes the far end to be visibly dimmer.
The driver, which is where failures come from
Strip rarely fails. Drivers fail constantly, and choosing one properly avoids most disappointment.
Size it with headroom. Total the strip wattage and add at least 20 per cent. A driver run continuously at its rated maximum gets hot and dies early.
Match the dimming method to the driver. A driver must be specified as dimmable, and it must be dimmable by the method you intend — mains phase dimming from a wall dimmer, a 0–10 volt or DALI control signal, or pulse-width modulation from a low-voltage controller. A non-dimmable driver on a dimmer will flicker, buzz or fail.
Prefer constant voltage for strip, which is what almost all LED tape expects, and be aware that constant current drivers are for a different kind of module.
Put the driver somewhere accessible. This is the mistake people regret. A driver sealed inside a plasterboard bulkhead or behind fixed cabinetry will fail in year four and be unreachable. Leave an access panel, or mount it in a cupboard.
Consider noise. Cheap drivers hum, and a hum above a bed or behind a sofa is intolerable in a quiet room.
Check the dimming floor. Many drivers will not go below 10 or 15 per cent and will flicker or drop out below that. If you want a very low night level, that is a specification to check rather than hope for.
Heat, which determines how long it lasts
LEDs are damaged by heat, and strip generates it along its whole length.
Use an aluminium profile. This is the difference between strip that lasts a decade and strip that fades in two years. The channel conducts heat away, and it also holds the strip straight, protects it, and takes a diffuser. Profiles cost more than the strip and are worth it.
Never leave strip on the reel when powered, even briefly for testing. Coiled strip overheats quickly.
Do not exceed the maximum run length, typically 5 metres for 12 V and longer for 24 V. Beyond it, both voltage drop and current in the copper become problems. Feed longer runs from both ends or in parallel sections rather than end to end.
Give it air. Strip crammed into a sealed timber slot with no ventilation runs hot.
Diffusers and hiding the source
The aesthetic rule from elsewhere on this site applies especially here: you should see the light, not the source.
An opal diffuser in the profile turns a line of points into a continuous glow. Frosted is a compromise; deep opal hides dots best and costs some output.
Position matters more than the diffuser. Strip mounted at the front edge of a shelf, aimed back at the wall, is invisible. Mounted at the back aimed forward, you see it from the sofa.
Set it back and shield it. A cornice detail with a 50 mm upstand hides the strip from every normal viewing angle.
Under cupboards, mount at the front under the lip, not at the back, or you light the tiles and leave the worktop in shadow.
Grazing a textured wall looks dramatic and shows every imperfection in the plaster. On a flat wall it shows every ripple. Test before committing.
Addressable strip, and when it is worth it
Single-colour strip is what most installations should use: brightest, cheapest, best CRI, simplest.
Tuneable white lets you shift colour temperature through the day, which for a kitchen or a bedroom headboard is a genuine improvement rather than a novelty.
Full colour strip is dimmer and renders white poorly, because output is split between emitters. Good for accent, poor for anything you work under.
Addressable strip, where each LED or small group is individually controllable, enables effects and gradients. It is genuinely useful in two places: a stair or corridor where light can follow a person, and a signalling application. Elsewhere it is usually bought and then run as a single colour, at higher cost and lower brightness.
Our suggestion: single-colour or tuneable white high-CRI strip for everything functional, and colour or addressable only where you have a specific effect in mind.
Where it works best
Under kitchen wall units, at the front, warm and high CRI. The most useful lighting improvement in most houses.
Inside wardrobes and pantries, on a door contact so it is instant rather than motion-delayed.
Stair nosings or a wall channel, at very low level at night. A safety improvement and quietly one of the best things you can do.
Behind a headboard, warm, dimmed, on both sides separately.
Above wall units or on a cornice, bouncing off the ceiling, which is soft glare-free ambient light.
Under a bathroom vanity, as a night level.
Under a bed, on a presence or motion trigger at a few per cent, which is a genuinely appreciated automation in a household with children or older adults.
What we would specify
- 24 V, 120 or 180 LEDs per metre, CRI 90 or better.
- 2,700 K for living spaces, 3,000 K for kitchens, or tuneable white.
- Three MacAdam steps or fewer, so the colour is consistent along the run.
- Aluminium profile with an opal diffuser, always.
- A dimmable driver with 20 per cent headroom, mounted somewhere you can reach it.
- Mounted at the front edge, shielded, aimed away from eye level.
- Door contacts rather than motion for cupboards, for instant response.
- A very low night level verified against the driver's dimming floor.
Items four and five are the ones that decide whether it is still working in ten years, and they are the two most often economised on.